How to Clean and Maintain an RC Car, Step by Step
How to clean an electric or muddy RC car without damaging the electronics, care for the body and do a quick tune-up after every session.
By Elite Radio Control teamUpdated 4 min read
Part of the guide: RC workshop: building, maintenance and painting
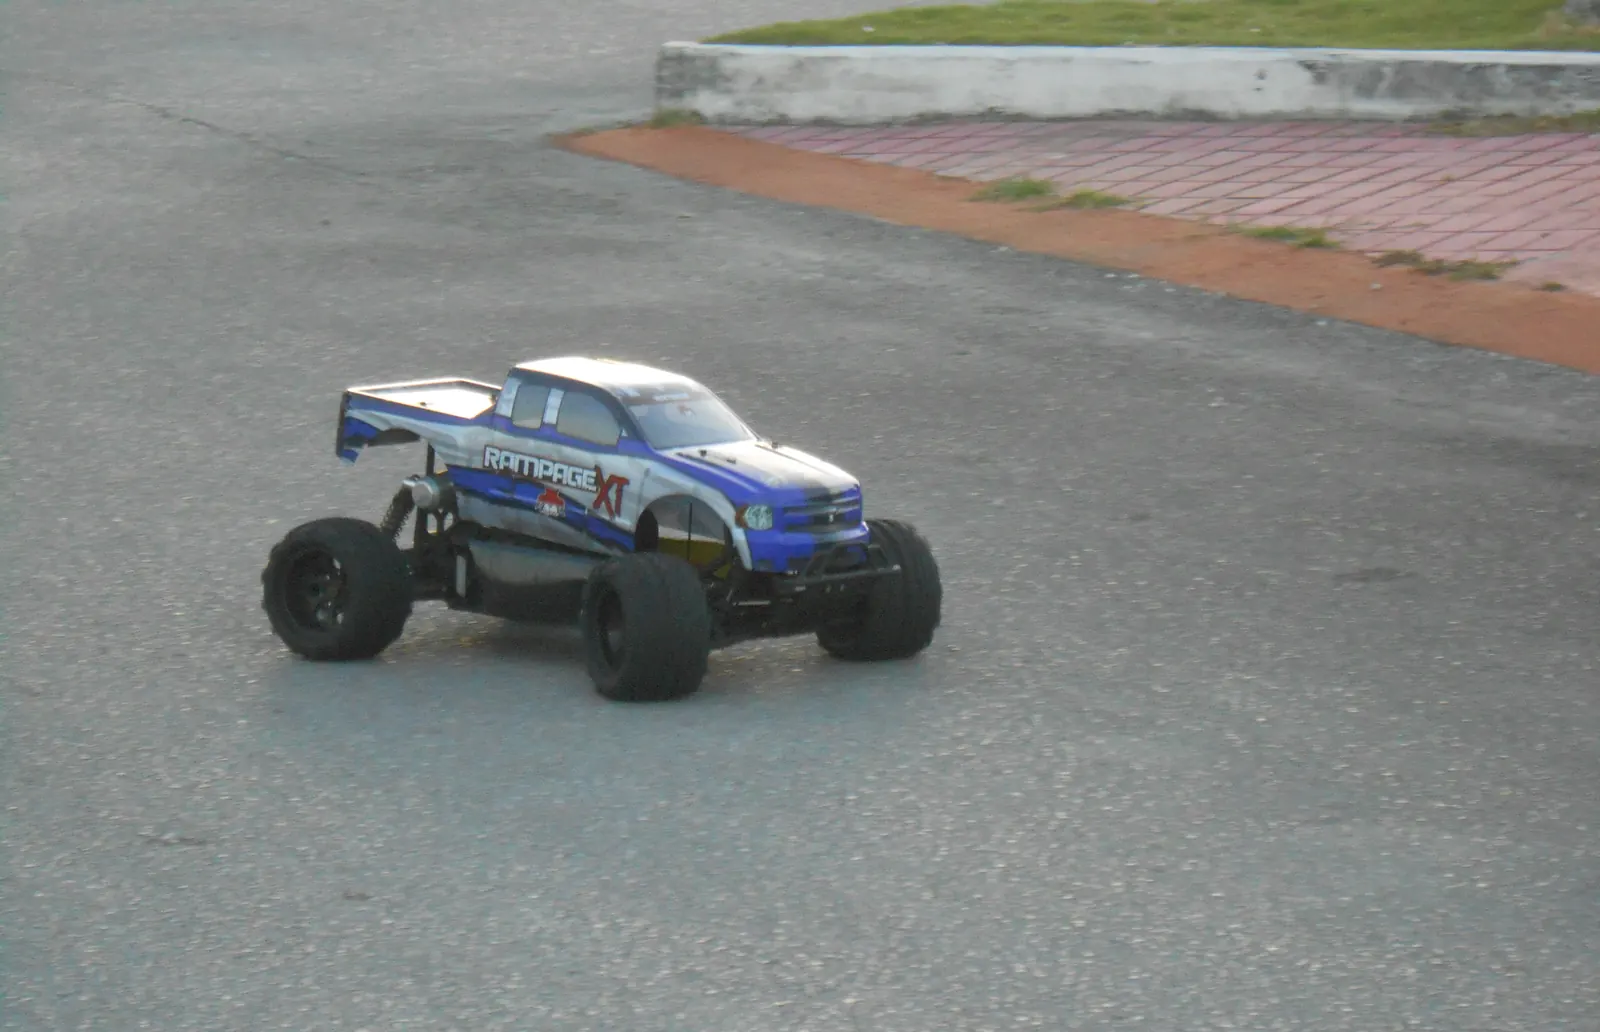
A clean RC car isn’t just about looks: dust, sand and mud wear out bearings, gears and ball ends, and moisture can damage the electronics. Spending a few minutes on it after every session makes the car last much longer and saves you breakdowns at the track.
This guide is for electric cars. If you have a nitro model, finish the job with the nitro RC car maintenance routine, which covers caring for the engine and the air filter.
What you need
- Soft and stiff brushes (an old toothbrush works for tight spots).
- A paintbrush for dry dust.
- Compressed air or a small air compressor.
- Microfiber cloths.
- Warm water with a few drops of mild soap, or an RC-specific cleaner.
- Bearing oil and a moisture-displacing protective spray.
- Hex drivers and thread-locker for the final check.
RC cleaning brush kits and RC-specific cleaners make the job easier.
Step 1: Prep the car
- Remove the battery every time before you start.
- Take off the body and the wheels. That way you can reach every corner of the chassis.
- Protect the electronics if you’re going to use water: wrap the receiver in a balloon or a small bag and cover the ESC’s power switch.
Step 2: Get the heavy dirt off
If the car is caked in mud, let the mud dry and brush it off with the stiff brush: it comes off much more easily than wet mud. Then blow compressed air from different angles to get the sand out from between the suspension arms, the driveshafts and the pinion. If it’s only dusty, the paintbrush and air are enough.
Step 3: Clean the chassis
Dip the brush in soapy water and scrub one area at a time without soaking anything. Pay extra attention to the steering knuckles, the suspension arms and the underside of the chassis. Wipe off the soap with a damp cloth and dry right away with compressed air and microfiber. Never use a pressure washer: it forces water into the bearings and the electronics.
Around the electronics, clean only with the paintbrush and air. If a connector is dirty, use a cotton swab barely dampened with isopropyl alcohol.
Step 4: Wheels and tires
Brush the tires to get the dirt out of the treads and check that they’re still well glued to the wheels. If they’re coming loose, clean them and reglue them with RC tire glue. If the treads are worn, it may be time to replace them: see which RC tires for each surface suit you.
Step 5: The body
Polycarbonate bodies are painted on the inside, so you can clean the outside without worrying about the paint, as long as you use gentle products: warm water, mild soap and a microfiber cloth. Avoid solvents and acetone. On the inside, just wipe off the dust with a dry cloth so you don’t lift the paint. If the body is really beat up, you’ll find ideas for giving it a new look in how to paint an RC body.
Step 6: Drying and lubrication
Dry everything thoroughly, especially the bearings and screws. Then put a drop of bearing oil on each bearing and, if you used water, spray a moisture-displacing protectant on the metal parts, away from the electronics and the motor. Let the car air out for a while before you put it away.
Quick check after every session
Cleaning is the best time to find problems before they break something:
- Screws: look for any that have worked loose, and use thread-locker on the ones that go into metal.
- Bearings: spin each wheel. If it sounds gritty or has rough spots, clean or replace the bearing.
- Pinion mesh: it should have minimal play and shouldn’t skip teeth.
- Shocks: look for oil leaks and check that the two shocks on each axle behave the same.
- Ball ends and turnbuckles: no excessive slop.
- Wires: no cuts and no rubbing against moving parts.
- Battery: no dents or swelling. Store it at storage voltage if you won’t use it for a few days (more in RC LiPo batteries).
Basic tune-up
Once the car is clean, take the chance to adjust the things you notice most on the track:
- Wheel toe and camber, following the manual or your driving style.
- Slipper clutch, if your car has one: it protects the drivetrain on jumps. It should slip a little when you punch the throttle from a standstill.
- Steering endpoints on the transmitter, so the servo doesn’t strain at full lock.
These steps work the same for a Traxxas as for a WLtoys or a Tamiya. You’ll find more build and care guides in the RC workshop.
Frequently asked questions
Can I wash an RC car with water?
Only carefully. Even though many RTR cars have waterproof electronics, they aren't submersible. Use as little water as possible, remove the battery first, protect the receiver and never use a pressure washer.
How often should you clean an RC car?
Ideally, give it a quick clean after every session and a deeper one, with a check of the bearings and shocks, every few runs or whenever the car has been through mud or sand.
What shouldn't I use to clean the body?
Avoid solvents, acetone and harsh cleaners: they attack polycarbonate and paint. Warm water, a few drops of mild soap and a microfiber cloth are all you need.
Related guides
RC cars
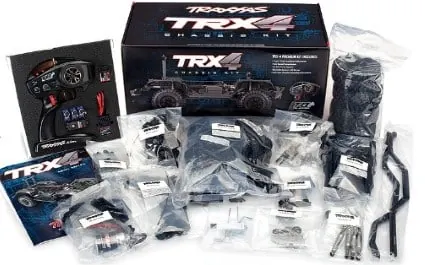
How to Build an RC Car: What You Need, Step by Step
Kit or scratch build, components, tools, cost and the steps to build your own RC car and get it ready to drive.
4 min read
RC cars
Tamiya Cement for Scale Models and RC Cars
Here you'll learn all about Tamiya cement, not just for plastic model kits but also for RC cars and planes.
6 min read
RC cars
Tamiya Paint: Amazing Colors for Your RC Models
Find Tamiya paint for scale modeling and RC here, plus the different types you can choose from and how to use each one.
4 min read
RC cars
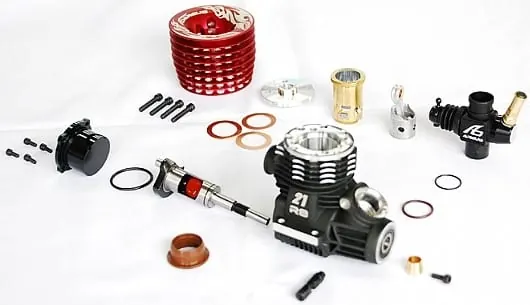
Nitro RC Car Maintenance: Your After-Run Routine
What to do after every session with a nitro RC car: empty the tank, clean it, look after the air filter, protect the engine with after-run oil, and check the glow plug, clutch and drivetrain.
3 min read