How to Paint an RC Car Body
Learn how to paint your RC car's body like a pro, with tips and tricks to make it look amazing on the track.
By Elite Radio Control teamUpdated 4 min read
Part of the guide: RC workshop: building, maintenance and painting
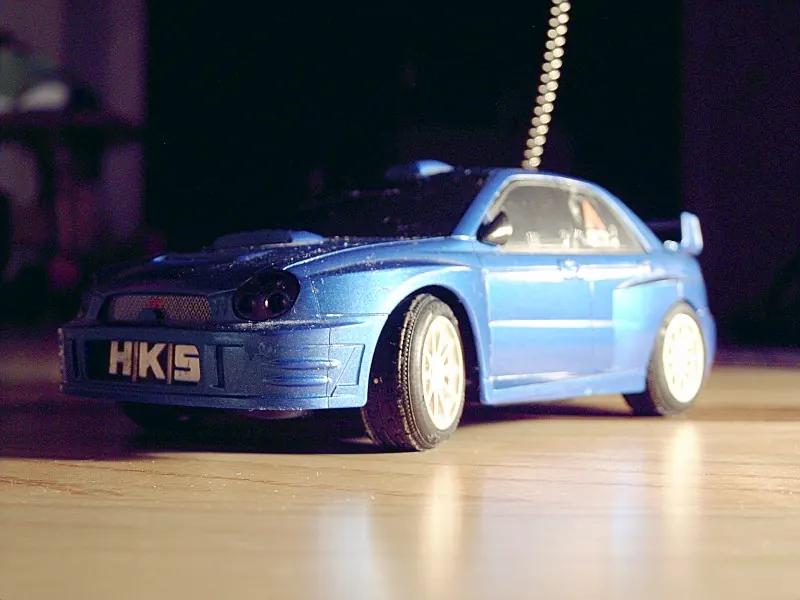
If you’re passionate about RC cars, you probably want to customize yours to your liking. Painting the body is one of the easiest ways to give it a personal touch and create a one-of-a-kind vehicle.
Below, we walk you through every step of painting your RC car’s body.
Prep Your RC Car
To start painting an RC car body, you need to prep your vehicle. That means taking the body off the car’s chassis. At this point, it’s a good idea to wash the body with soap and water to remove any dirt and dust stuck to it.
Once the body is dry, it’s important to sand it so the paint sticks well and the finish turns out perfect.
Prep Your Work Area
Before you start painting, it’s also important to set up your work area. The ideal place to paint an RC car body is a well-ventilated space, such as a garage or a backyard.
Good ventilation keeps the paint and chemicals from affecting your health.
Choose the Materials You Need
Once your RC car and your work area are ready, it’s time to choose the materials you need. The basic materials you’ll need are:
- Paint: to paint an RC car body, you need paint made for this type of vehicle. The paint should be resistant to water and heat so your vehicle holds up over time.
- Brushes: use good-quality brushes for a professional finish.
- Sandpaper: to prep the RC car body before painting, you need sandpaper in different grits.
- Masking tape: this tape is essential for marking off the areas you don’t want paint on.
- Clear coat: to give your body its final finish, you need a clear coat that protects it from the weather and wear.
Paint Your Body
Once you have all the materials you need, you can start painting the body. It’s important to apply the paint evenly, working from the center out toward the edges.
It’s also a good idea to apply several coats so the color is deep and lasts.
Clear Coat Your Body
Once you’ve finished painting your body, apply a clear coat to protect it. The clear coat makes the paint resistant to water and heat, so it will last a long time.
Put Your RC Car Back Together
When the paint and the clear coat are completely dry, you can put your RC car back together. Mount the body back on the chassis and enjoy your RC vehicle with the look you gave it yourself.
What type of paint is best for RC car bodies?
The best option for painting RC car bodies is spray paint. It gives a smoother, longer-lasting finish than traditional paint, and it’s much quicker and easier to apply. It’s also resistant to UV rays and the elements, which makes it an excellent choice for an RC car body.
What steps should I follow to prep an RC car body before painting it?
-
Clean the body thoroughly with soapy water to remove any dirt, oil, grease or dust.
-
Then sand the surface with fine sandpaper to remove any imperfections and help the paint stick.
-
Next, apply a coat of primer and let it dry completely before you start painting.
-
You can use a can of compressed air to blow off any dust or dirt particles before you start painting.
-
You can use a can of paint made for RC cars to paint the body. Be sure to follow the manufacturer’s instructions so you apply it correctly.
-
Once the paint is completely dry, you can apply a clear coat to protect the paint and give it a glossy finish.
How can I fix paint mistakes on an RC car body?
To fix paint mistakes on an RC car body, you can sand it gently with fine sandpaper to remove the flaws. Then polish the surface with a polishing compound to remove any sanding marks. Once the surface is smooth, you can apply a new coat of paint. If the RC car body is plastic, be sure to use a water-based paint or a paint made for plastics so you don’t damage the plastic. After applying the paint, let it dry completely before using the car again.
What materials do I need to paint an RC car body?
To paint an RC car body, you need the following materials:
- Paint made for RC car bodies, available in a variety of colors.
- Model paint for RC cars, for detailing the finish.
- Fine sandpaper to remove dirt and old paint.
- Sandpaper for sanding the surface.
- A towel to clean the body after sanding.
- A spray can to apply the paint.
- A can of sealer to seal the body.
- Masking tape to cover areas you don’t want painted.
- A plastic bag to collect the leftovers.
How can I make sure the paint sticks properly to an RC car body?
To make sure the paint sticks properly to an RC car body, there are several steps to follow. First, clean the body thoroughly to remove any dirt or impurities. Next, sand the surface with fine sandpaper to remove any imperfections.
Then apply a plastic sealer before you apply the paint. This helps the paint stick better to the body.
Finally, apply the paint with a brush or a spray can, whichever you prefer. Be sure to apply a thin coat of paint so too much material doesn’t build up. If you follow these steps, you can be sure the paint will stick properly to your RC car body.
Related guides
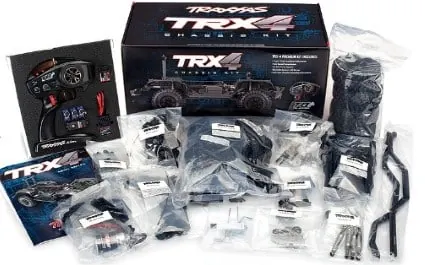
RC cars
How to Build an RC Car: What You Need, Step by Step
Kit or scratch build, components, tools, cost and the steps to build your own RC car and get it ready to drive.
4 min read
RC cars
Tamiya Cement for Scale Models and RC Cars
Here you'll learn all about Tamiya cement, not just for plastic model kits but also for RC cars and planes.
6 min read
RC cars
Tamiya Paint: Amazing Colors for Your RC Models
Find Tamiya paint for scale modeling and RC here, plus the different types you can choose from and how to use each one.
4 min read
RC cars
How to Clean and Maintain an RC Car, Step by Step
How to clean an electric or muddy RC car without damaging the electronics, care for the body and do a quick tune-up after every session.
4 min read