How to Build an RC Car: What You Need, Step by Step
Kit or scratch build, components, tools, cost and the steps to build your own RC car and get it ready to drive.
By Elite Radio Control teamUpdated 4 min read
Part of the guide: RC workshop: building, maintenance and painting
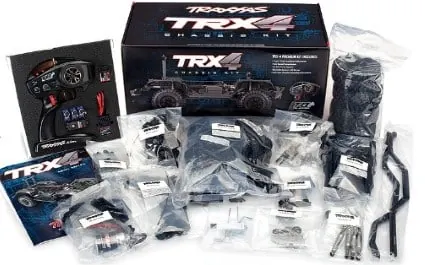
Building your own RC car is one of the best ways to understand how it works inside, and afterward you’ll know how to repair and upgrade it. There are two routes: building a kit that includes all the chassis parts, or building from scratch, choosing and adapting every component. Here’s what you need for each one and a step-by-step guide to the build.
Kit or scratch build
- Kit. This is the recommended option for most people. It includes the chassis, drivetrain, suspension and an unpainted body, along with an illustrated manual. Depending on the kit, the electronics are either included or sold separately. Brands like Tamiya are famous for their kits, and the Tamiya TT-02 is a classic for beginners.
- Scratch build. You design or adapt the chassis and combine parts from different manufacturers. It takes more know-how and tools, and it’s more of a workshop project than a way to save money. If electronics interest you, see how to make an Arduino RC car. For a project with kids, a cardboard RC car is simple and fun.
If you’re still torn between building a car and buying one ready-made, compare the options in RC kit vs RTR.
RC car components
- Chassis: the base everything else mounts to. Made of plastic, aluminum or carbon fiber.
- Drivetrain: axles, driveshafts and differentials that send power to the wheels (2WD or 4WD).
- Suspension: arms, steering knuckles and shocks filled with silicone oil.
- Steering: a servo that turns the front wheels through steering links.
- Motor: electric (brushed or brushless) or a combustion engine. See brushless vs brushed RC motors.
- ESC: controls the power going to the electric motor. Everything about it in what is an ESC.
- Battery and charger: almost always LiPo or NiMH. See RC LiPo batteries and how to choose a LiPo charger.
- Transmitter and receiver: the radio system you control it with. See how to choose an RC transmitter.
- Wheels and tires: chosen for the terrain. See RC tires by surface.
- Body: usually clear polycarbonate (Lexan), painted on the inside.
Tools you need
- Hex drivers (the most common sizes are 1.5, 2 and 2.5 mm) and Phillips screwdrivers.
- Nut drivers for the wheel nuts and other hardware (5.5 and 7 mm are very common).
- Needle-nose pliers and wire cutters.
- Thread locker for screws that go into metal.
- Gear grease, plus silicone oil for the shocks and differentials.
- A hobby knife, curved scissors and a reamer for trimming the body and making holes in it.
- Paint made for polycarbonate.
The guide to RC tools expands on this list. A set of RC hex drivers and some polycarbonate paint cover almost the whole build.
Step-by-step build
- Read the whole manual before you open any bags. Check that you have all the parts and tools.
- Work bag by bag. Most kits number the bags by build stage. Open only the one you need and use trays or a magnet so you don’t lose small screws.
- Differentials and drivetrain. Fill the differentials with the recommended oil and check that they turn smoothly without any tight spots.
- Suspension. Assemble the arms, steering knuckles and ball joints. The parts should move freely without any slop.
- Shocks. Fill them with oil slowly, work the piston to get the air bubbles out, and close them up. The two shocks on each axle should end up identical.
- Steering and servo. Before you screw on the servo horn, switch on the transmitter and receiver so the servo is centered.
- Motor and pinion. Set the gear mesh between the pinion and spur gear: a strip of paper run between them should come out marked but not torn.
- Electronics. Mount the ESC and receiver, plug in the wires and tidy them with zip ties so they can’t rub against moving parts.
- Calibrate the ESC to the transmitter and adjust the steering endpoints so the servo doesn’t strain.
- Wheels and body. Glue the tires to the wheels if the kit calls for it. Paint the body on the inside, let it dry and trim it.
Setup and first tests
Before you take it to the track, test the car with the wheels off the ground: the steering should turn equally to both sides and the motor should respond smoothly. Then drive it slowly and check for loose screws, noises in the drivetrain or the motor or ESC running unusually hot.
Once you’re driving it, maintenance will be just as important as the build: you’ll find the routine in how to clean an RC car.
How much it costs to build an RC car
The price depends on what the kit includes. When you budget, add up:
- The chassis kit.
- Motor and ESC (if they’re not included).
- Steering servo.
- Transmitter and receiver.
- Battery and charger.
- Body paint and tools.
To get started, you can browse Tamiya RC kits and the Traxxas TRX-4 kit on Amazon. A “roller” or chassis-only kit may look cheap, but once you add all the electronics the total usually matches or exceeds the price of an equivalent RTR car. The value lies in choosing every part and in what you learn along the way.
This article is part of the RC workshop, with guides to building, maintenance and painting.
Frequently asked questions
Is it hard to build an RC car?
With a kit you don't need any previous experience: the manual walks you through every step and you only need basic tools. What matters most is patience, because a complete build can take several evenings.
Is it cheaper to build an RC car than to buy one ready-made?
Usually not. A kit without electronics means buying the motor, ESC, servo, transmitter, battery and charger separately. The advantage is that you choose every component and learn how the car works mechanically.
What's a good kit for a first build?
Tamiya kits, such as those based on the TT-02 chassis, are known for their clear manuals and make a good first build. Crawler kits, such as the Traxxas TRX-4, appeal to anyone looking for a more involved build.
Related guides

RC cars
Tamiya Cement for Scale Models and RC Cars
Here you'll learn all about Tamiya cement, not just for plastic model kits but also for RC cars and planes.
6 min read
RC cars
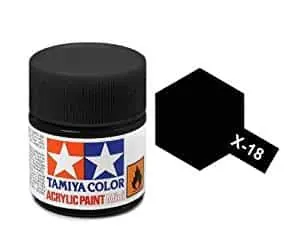
Tamiya Paint: Amazing Colors for Your RC Models
Find Tamiya paint for scale modeling and RC here, plus the different types you can choose from and how to use each one.
4 min read

RC cars
How to Build a Cardboard RC Car
Find out how to build your own cardboard RC car in this fun post from our blog. Don't miss it!
5 min read
RC cars
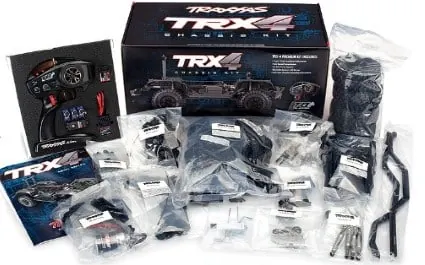
RC Car Kit vs RTR: What's the Difference?
You can choose between an RC car kit you build yourself or an RTR model. Here's what to keep in mind when you make your choice.
4 min read
RC cars
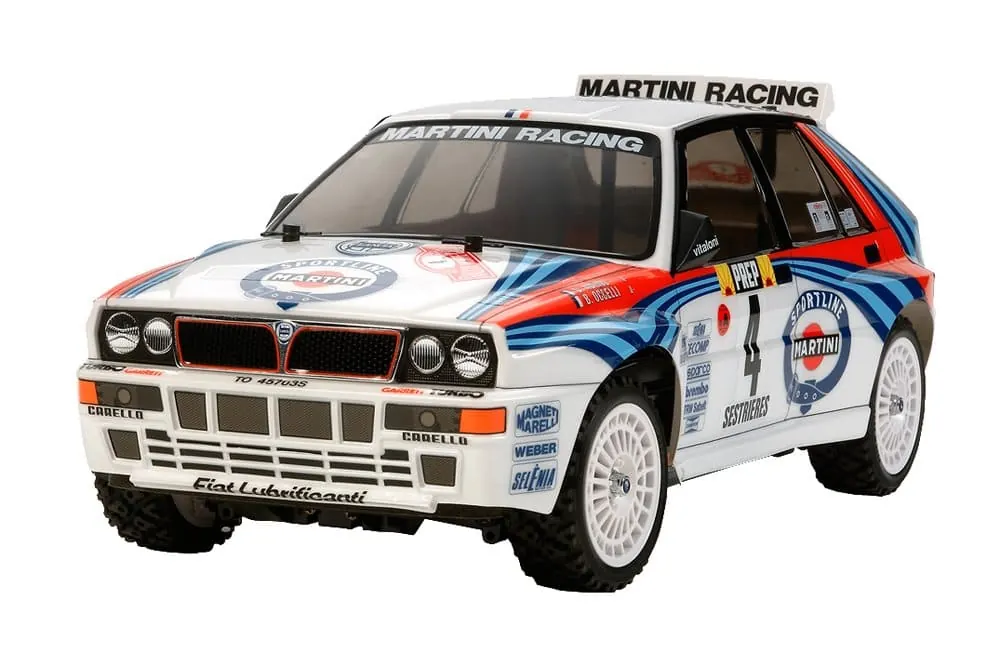
Why Is the Tamiya TT-02 One of the Most Popular Chassis?
With a Tamiya TT-02 chassis you'll get more out of your RC car and see a significant boost in performance.
4 min read